

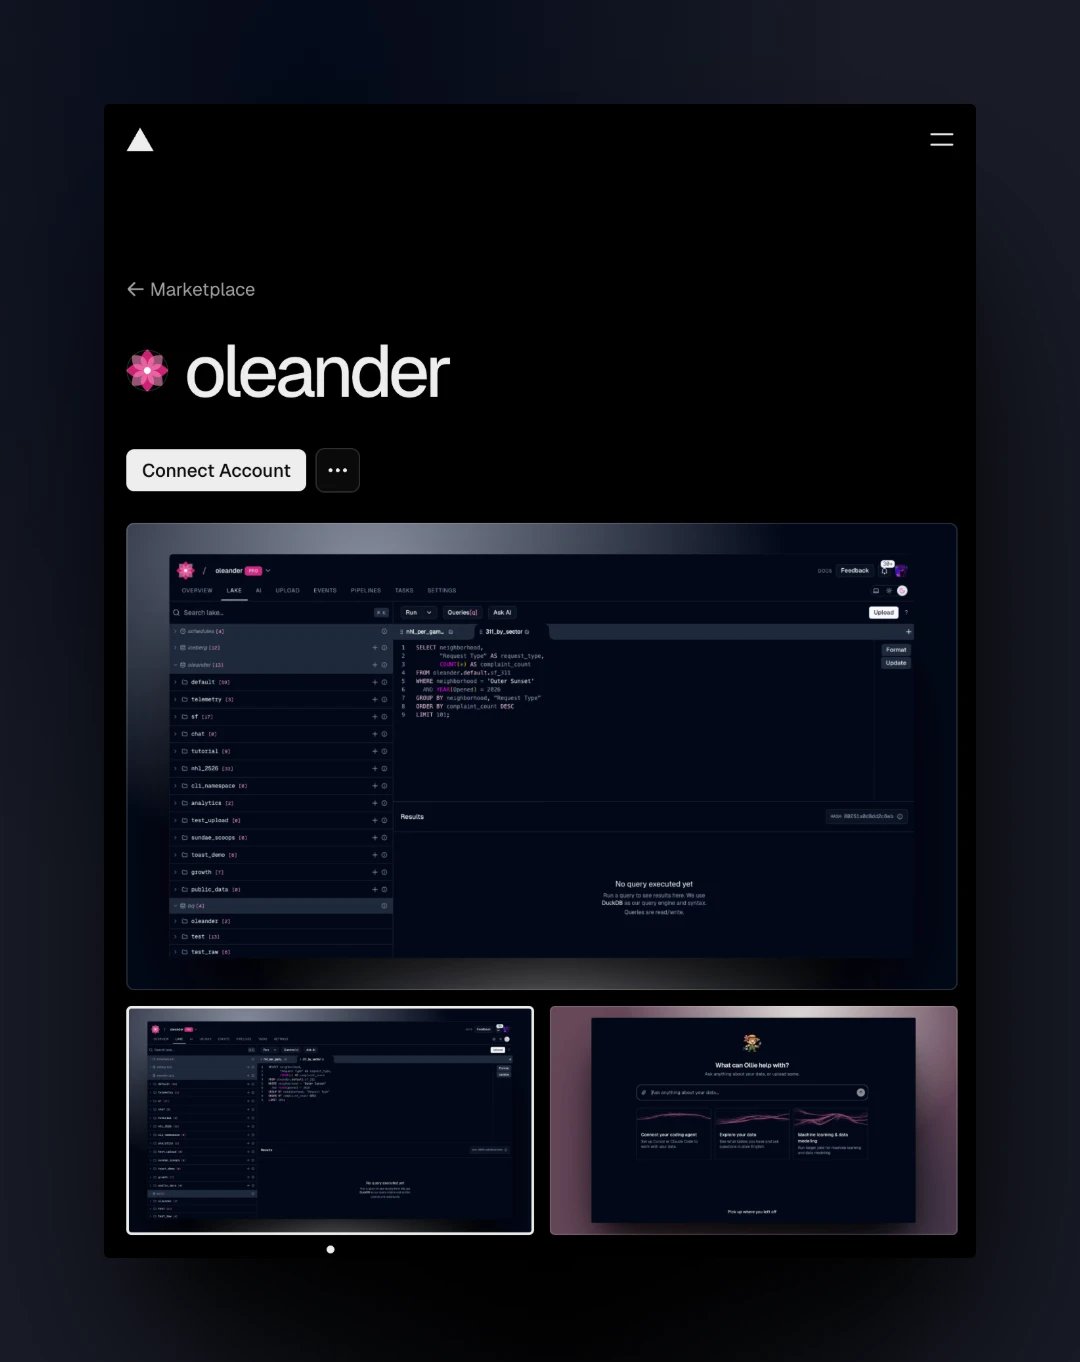
Install
- Open oleander on the Vercel Marketplace and click Connect Account.
- Choose the Vercel team to install it on. Vercel then sends you to oleander, where you sign in if you aren’t already.
- On Connect oleander to Vercel, select the projects that should receive the environment variables. Every project in the team starts out selected.
- Click Connect. With no projects selected the button reads Finish installation, and you can connect projects later by running setup again.
Environment variables
Each variable is set for the Production, Preview, and Development environments, replacing any existing variable with the same name.
Vercel reads environment variables when it builds a deployment, so redeploy a project to pick them up. For local development,
vercel env pull writes them to .env.local.Using the variables
The TypeScript SDK readsOLEANDER_API_KEY from the environment, so a route handler or server function needs no configuration:
OLEANDER_MCP_URL and send the key as Authorization: Bearer <OLEANDER_API_KEY>. See the MCP reference for the tools it exposes. For anything else, OLEANDER_API_URL is the base URL of the REST API, which takes the same bearer token.
The API key
oleander creates the key when you finish setup. It belongs to the oleander user who installed the integration, so it carries that user’s roles. It’s listed under Settings → Config → API keys as Vercel integration, followed by the installation’s configuration ID.- Running setup again creates a new key, writes it to the projects you select, and revokes the old one. Projects you leave unselected keep the revoked key, so select every project that still needs access.
- Uninstalling the integration in Vercel revokes the key. The environment variables stay on your projects until you remove them.
- Revoking the key in oleander cuts off every project that uses it.